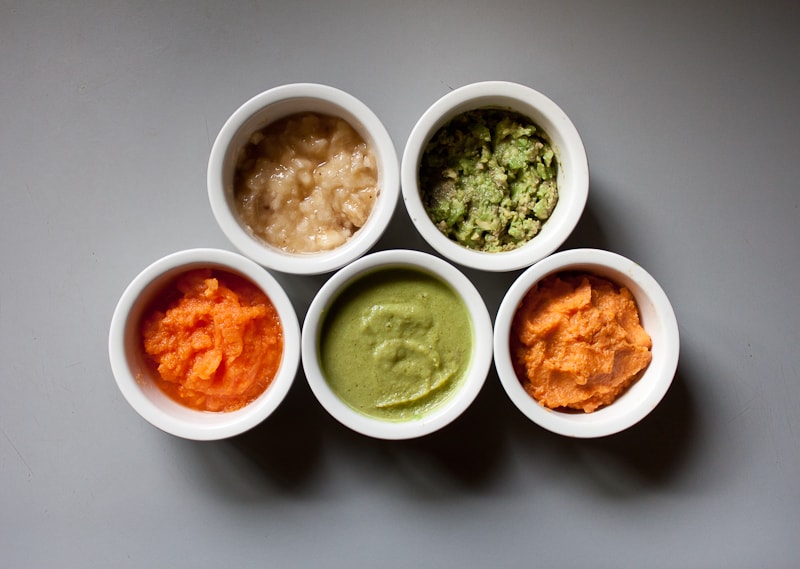
6 Best Tips to DIY Baby’s First Foods
This post contains affiliate links. This means I receive a small commission from sales of certain items, but the price is the same for you.
It is time. Your bundle of joy is about 6 months old and could be ready for real food! Well, real food that is cooked and mashed up into a sauce (unless you are going the BLW route). Obviously, they will still be on breastmilk or formula for awhile longer, but that is what makes the new foods quest fun! You are seeing you little one take a big step in growing up and they are only a few months old! How exciting is that?
I knew when I was pregnant with my first child that I wanted to make my own baby food. It has been quite a journey, and I do things differently now for my younger ones than I did initially for my eldest. Eating nutritiously for myself is a priority in my kitchen; this is even more true for my growing babies. Now I am not a nutritionist, but my years of research and reading what holistic nutritionists/practitioners have to say, I am confident in the food choices my kids get.
There are many ways to use your own food that the rest of your family eats to help introduce solids to your baby. You can use purees, do Baby-Led Weaning (BLW) or a hybrid (which is what I am more drawn to). I like using purees at the very beginning so they can focus more on the taste and texture of the food. But I don’t use them for very long because my kids always try to grab the spoon so I figure they are ready to handle some food on their own.
Remember, it is important that for the first little while, you only give your baby 1 new food every couple of days. This is so there is no confusion if he or she is allergic to a food you give them. Any allergic reaction is less likely to happen when they start on super nutrient-dense and non-starchy whole foods. More recent research as actually found that introducing high allergy foods (like eggs and dairy) earlier into a babies diet may help prevent food allergies.
Keeping it simple like this is the best way I found to help you kid love food and knowing they are consuming high-quality nutrition.
Why You Should Consider DIY Baby Food
- Now, this post is definitely PRO making your baby’s food for them versus buying them pre-done in a jar or pouch. However, this is TOTALLY a preference. If you have no time or feel that you just want to store buy your baby’s food, that’s perfectly OK and is YOUR CHOICE! Us mothers have enough to deal with at home–we really shouldn’t be nitpicking each other’s choices (can you tell this is a petpeeve?).
- I am sure that if you are on the fence about making your own baby food, it has something to do with it being very time consuming. If you are prepared and have the right tools, this doesn’t have to be time consuming at all. You cook for yourself right? My approach tries to incorporate foods you already have at home and utilizing foods that has minimal or no cooking involved.
- Another great thing about DIY baby food is that it’s cheaper. You won’t have to add something new to your grocery list and make sure that your jar/pouch stock is full. Like I previously mentioned, you would be utilizing food that is already in your kitchen. At the most, you will have to buy an extra piece of fruit or vegetable. This comes with the territory of a growing family doesn’t it?
- KNOWING what is in your baby’s food, just like your own food, should be a priority. And the best way to do this is, simply, buy your own ingredients and make recipes from scratch. The purees on the store shelves are nowhere near as nutrient-dense a freshly foods from your kitchen. Check out the labels on some of the baby food jars/pouches to see what possible fillers are in the purees. Maybe the brand is “better” and uses whole foods, but you have no way of know the ratios of the fruit and veggies or how much they are watered down. But if I had to guess, I would imagine there is way more fruit, than veg because kids will be more likely to eat it.
Unconventional, but Best High Quality First Foods
- Conventional “wisdom” or advice is to start your baby on iron-fortified cereals like rice and oatmeal. First of all, an important enzyme called amylase is not produced enough to break down complex carbohydrates when babies are this young. This can present a big issue in their digestive system so I have found it’s best to introduce grains a bit later on.
- I have a myriad of issues with fortifying foods versus using foods that are naturally higher in something like iron. There a plenty of more nutrient dense food that can supply your babe with iron that are also not super starchy. This something for another time, but iron-overload is a big issue we face today and it starts with our baby’s first foods!
- Instead of starting with starchy carbs and loads of fruit, I find that introducing protein, fats and non-starchy vegetables is the best way to go. My kids seem to be less picky eaters because they started out with well rounded foods not loaded with sugar (yes even the sugar in fruit).
- Wellness Mama has a great protocol she has used with her own children when introducing solids, and her first food for them is bone broth! I have not done this but her reasons and research are intriguing–I am definitely considering doing this for baby #4. Another highly nutrient-dense food she recommends is organ meat. I have recently implemented beef liver into my own diet so the next step will be for my kiddos. Organ meat is seriously nature’s super vitamin–a very natural way to get iron into your diet.
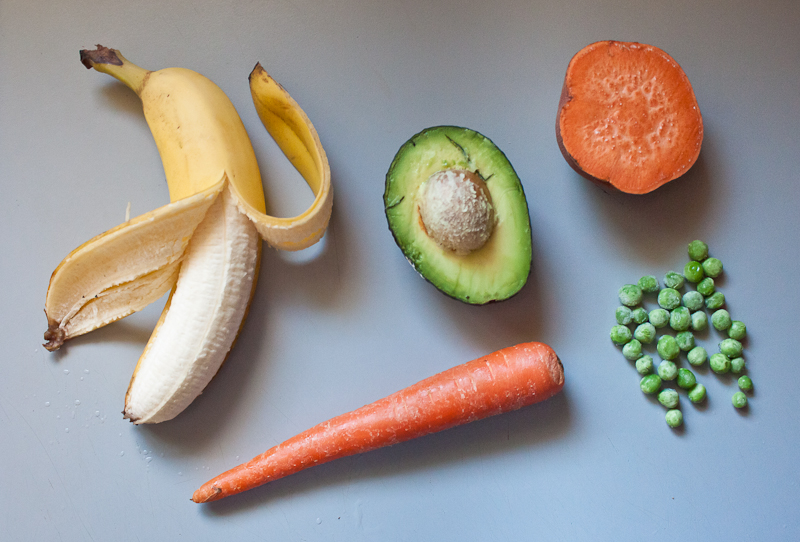
- Some nutrient dense foods I have given my young babes are things like pastured egg yolks (cooked but runny), avocado, blended red meat (beef or lamb), banana, acorn or butternut squash, high-quality yogurt, and other non-starchy vegetable like green peas and broccoli. When many of these foods have been introduced, I will begin to incorporate low-sugar fruit like berries and they are also loaded with good vitamins and fiber.
6 Best Tips to DIY Baby Food
Tip 1: Use Already Soft Foods
- Utilizing foods that are naturally soft can be a great starting point because it eliminates the need to cook which is a time saver.
- Soft avocado is always one of the first foods I give my kids and it is still a favorite as they have got older. It is easy to scoop our and blend with a fork for a younger baby and if are going the BLW route, you can cut it in long slices they can grab and mash up with their gums (or hands).
- Banana is usually the fruit I introduce first because it is already soft and easy to mash with a fork, and contains that enzyme amylase so it is easier for young babies to digest. I tend to combine this with avocado or a veggie puree so it isn’t too sweet.
- Plain, grass-fed Greek yogurt is a perfect baby food because it is already to go as is. It has a good amount of fat, protein and is usually loaded with much need probiotics. Since it is plain, it will be quite sour so I would usually add a tiny amount of mashed banana to it.
- A soft food that does need to be cooked would be the almighty egg yolk. Gently poaching the egg yolk or frying it with some coconut oil or grass fed butter is a quick job. The yolk is super nutrient dense and is easier digest so it is a natural first food for your babe. My kids have eggs almost every morning for breakfast so cooking up one more for baby isn’t much extra work.
Tip 2: Buy Frozen Fruits & Vegetables
- A lot of fresh food can also be found in the frozen section of the store. Most brands freeze their food when it is freshest and is usually cut up. This can be a great time saver when you are making purees or steaming batches of vegetables. I do make a point of buy these organic because then I know they have not been sprayed with pesticides or genetically-modified.
- Frozen peas are how buy my peas normally, and they are great first baby food. After they defrost, they can easily be pureed in your blender or given whole.
- Other frozen vegetables like broccoli florets, green beans, and butternut squash can also be defrosted, steamed and then blended into an easy puree. If you are BLW, they can be steamed from frozen into super soft pieces that are easy for your baby to grab and mash.
- When I do introduce fruit, I often start with berries because they are low sugar. Stores always carry frozen berries than can be easily defrosted and given whole to your baby to munch on. You can also defrost, puree and then add the puree to some vegetables or yogurt.
Tip 3: Make Large Batches and Freeze Them
- If you are starting out with purees, I found that steaming large batches of vegetables, pureeing them and then freezing them in ice cube trays made for easy portioning and storage. This worked well with peas, winter squash, broccoli, carrots, and asparagus. You can also do this with berries if you want to keep some puree on hand to mix with vegetables later.
- Bake a few sweet potatoes or butternut squash, then scoop out the flesh to puree or mash with a fork, divide into portions and freeze. If doing BLW, scoop out the flesh in finger-sized slices, separate for easy defrosting later, then freeze.
Tip 4: Prepare the Week’s Food on Saturday or Sunday
- Batch cooking and freezing your purees or BLW finger food is a huge time saver, but make sure to leave some portions out to store in the fridge for that week. Doing this on the weekends is a very logical time for me because I have fresh food from the grocery store and little extra help from my husband. You can cook and freeze enough of these foods for a couple of weeks (so you don’t get freezer-burned food), and then keep enough portioned-out food for the week.
- When you are introducing blended red meat, gently cook the meat, let cool, grate it or blend with a food processor. You can also use ground meat and brown it till cooked through. Similar to vegetables, you can portion your meat out after it’s cooked, then freeze it to use later. Save some portions for that week that you can mix in with some vegetable purees or serve by itself.
- Having ready made portions can be a life-saver at mealtimes during a busy week. It helps me not have to worry about cooking several meals throughout the day or it at least keeps the prep and cooking to a minimum. Preparation is key when making your own baby food–this is even true for your kids as they age!
Tip 5: There’s No Need for Fancy Equipment
- Necessity is the mother of invention right? There is an entire market specifically for baby food steamers, blenders, storage, etc. If you are a kitchen gadget junkie and feel you would be better off having some of these things, more power to you! I have found utilizing what I already have in my kitchen to work perfectly for my needs.
- A good steamer basket and pot should work to steam veggies, and then use a regular blender or food processor to puree or mash them. Other options for pureeing or mashing is to use an immersion blender, a potato masher or a fork.
- I try to use glass or silicone for food prep and storage as much as I can. There are great silicone ice cube trays for portioning purees that come with lids so you can also use them for storage. And, of course, there are silicone baby food storage trays available as well. After you’ve frozen a batch of puree, you can transport them into a reusable sealable bag and then reuse the mold for another food.
Tip 6: Prioritize Eating as a Family
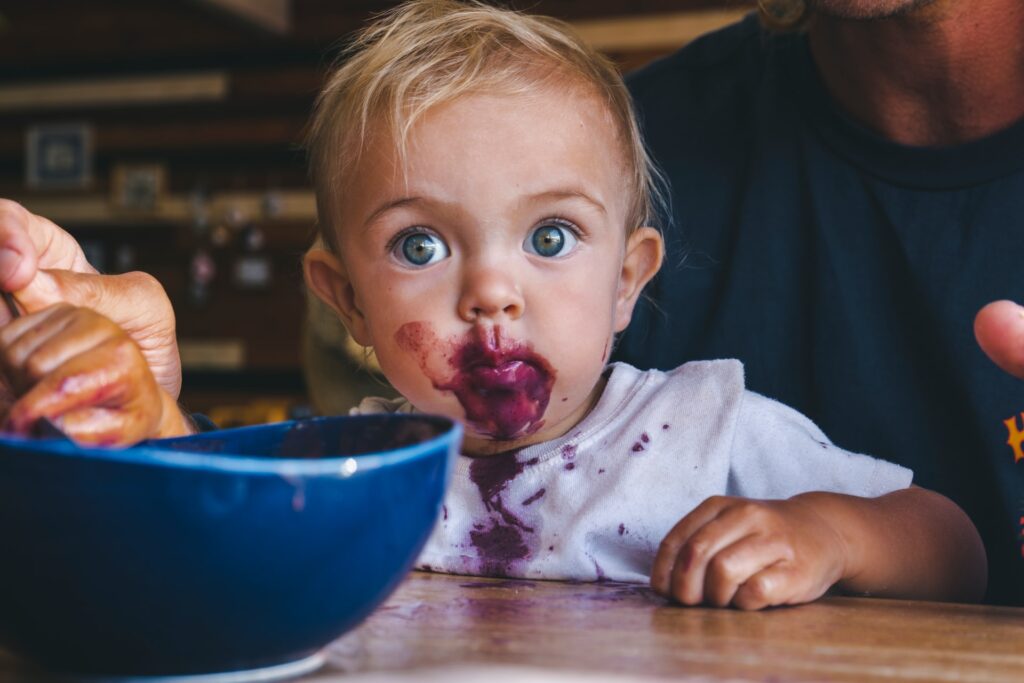
- We definitely make sitting down and eating together as a family a priority, as my family did when I was growing up. I think this is crucial even for a baby who may not understand what is going on yet. Sharing meals will help your baby learn there is a time and place for eating which I think helps create good habits.
- Babies and kids are mimickers and that is how they learn a great deal. When everyone sits down to eat, they will be able to see how older kids or parents eat, learning as they go. A lot of baby eating at the beginning, is them feeling the foods texture in their hands and in their mouth. But, as babies put everything in their mouths, they will begin to mirror others putting food in their mouths, chewing and swallowing.
- This is a big reason why I use a more hybrid approach to feeding my babies. I start with some purees and using a spoon, but because babies continue to mimic, they will start grabbing the food on their tray to do it themselves. This is when I will start using less purees and switch to BLW finger foods that are easy for baby to grab and mash with their mouths.
Conclusion
After reading this, I really hope you are considering DIY baby food for your little ones now or in the future. If you are still on the fence, continue researching and find more sources on why feeding your babies these kinds of foods is the best option. My other hope is that these choices and practices will set our kids up for success with super healthy eating habits!
What are your thoughts on DIY baby food? Did you learn something new about baby’s first foods? Share this post and let me know in the comments below!
xoxo,
Stephanie

